

We will create a connected temperature sensor by following these steps. To achieve this, we will use an esp8266 and 2 shields.
The ESP8266 is a microcontroller like an Arduino but with an integrated Wi-Fi module.
A shield is a board that can be added to the main board to expand its features. The shields have the advantage of being extremely easy to set up and use.
For now, 20 shields are available for the esp8266 D1 Mini.
So we can create many IoT projects easily by clipping the shields on top of each other and with little code to write.
Things used in this project
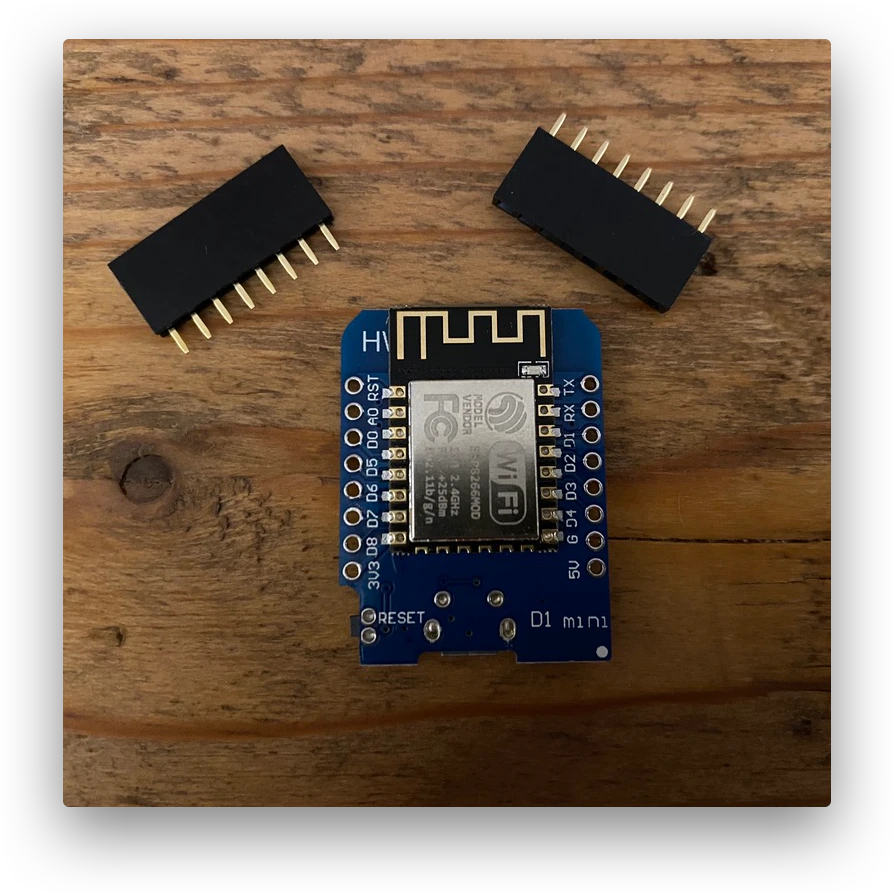
An ESP8266 Wemos D1 mini. It's the main mini Wi-Fi board.
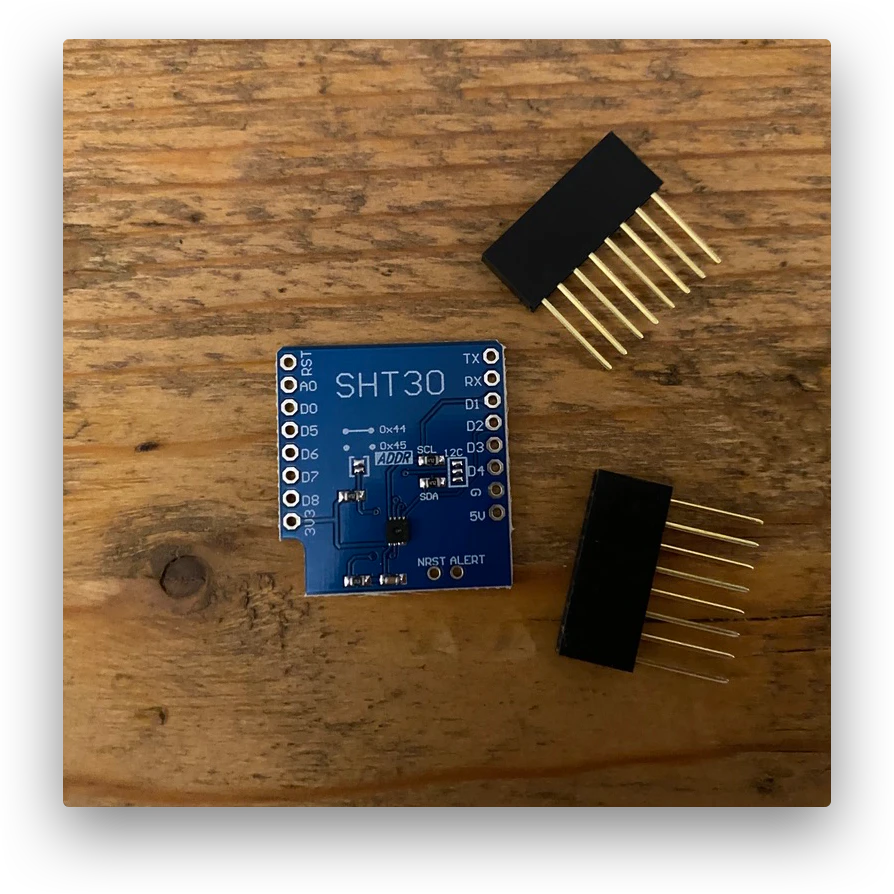
A SHT30 Shield. It's the temperature and humidity sensor module. I advise you to take the V2 because it is much more precise and is not impacted by the heat from the ESP8266. For this article, I will use the V1 of the module.
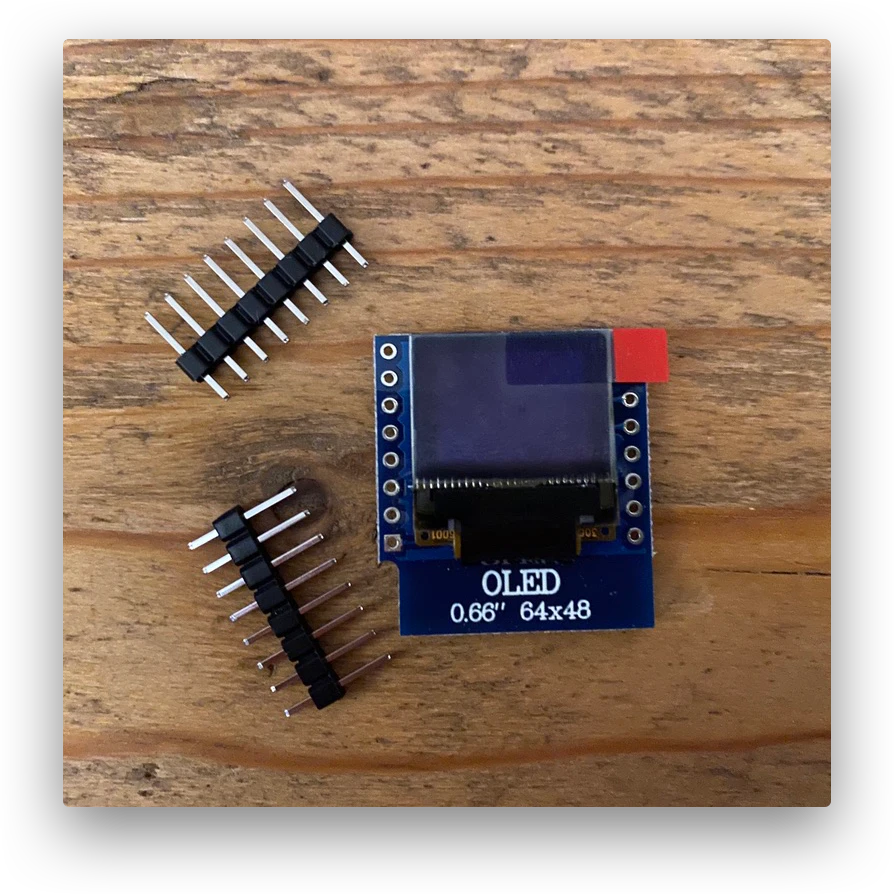
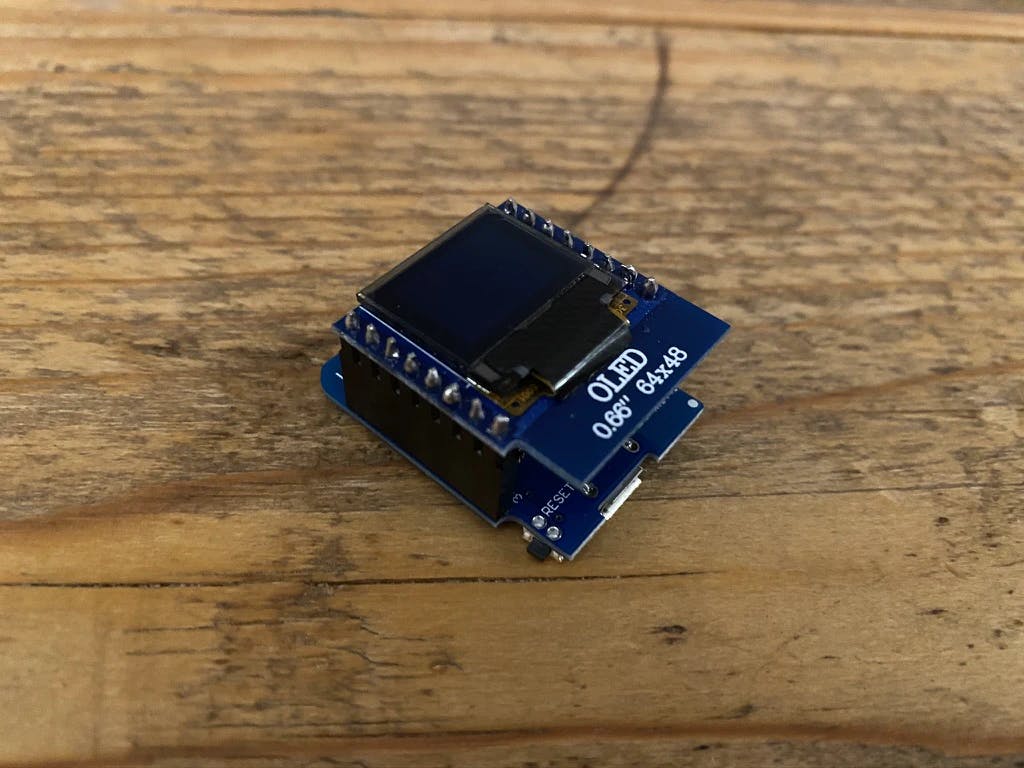
An OLED display Shield. It's a screen that will allow us to display the temperature.
Requirements
The latest version of the Arduino IDE
Add the ESP8266 board :
Add this url https://arduino.esp8266.com/stable/package_esp8266com_index.json on Arduino/Preferences/Additional Boards Manager URLs
Install the ESP8266 on board manager Tools/Board/Board Manager
Add these libraries with
Tools/Manage LibrariesAdafruit_SHT31Adafruit_SSD1306BlynkSimpleEsp8266
Config
Change the configuration on Tools:
Board :
LOLIN(WEMOS) D1 mini litePort:
/dev/cu.wchusbserial…for MacUpload Speed:
921600Click on
Serial Monitor
Step 1 - Read the temperature value
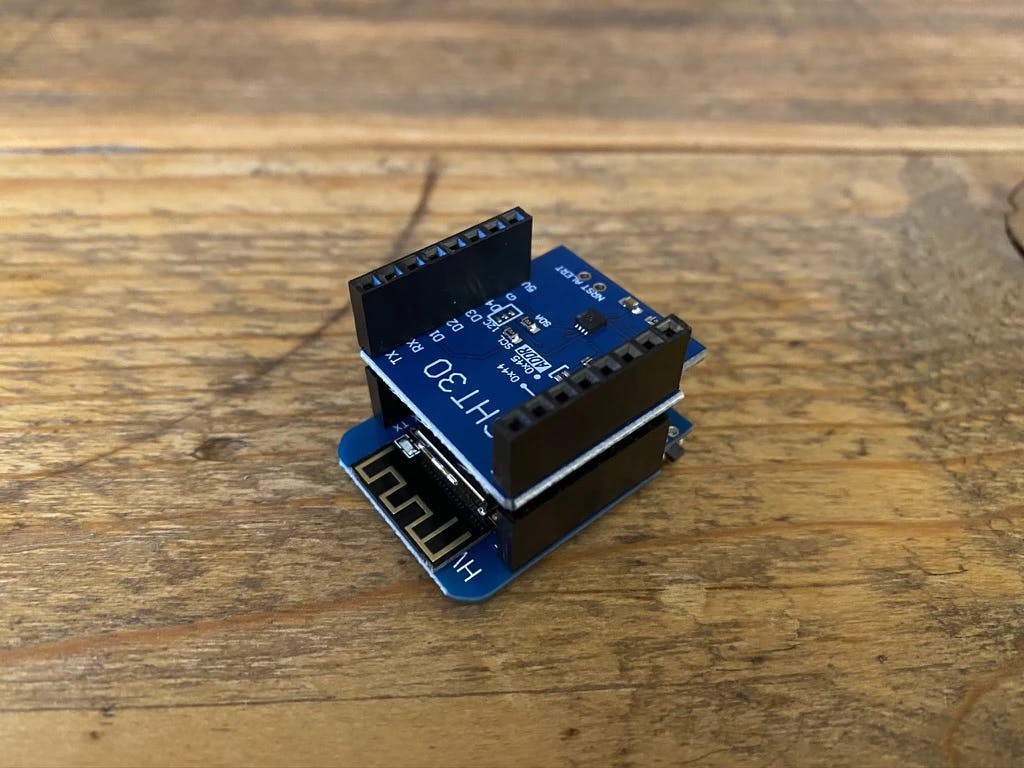
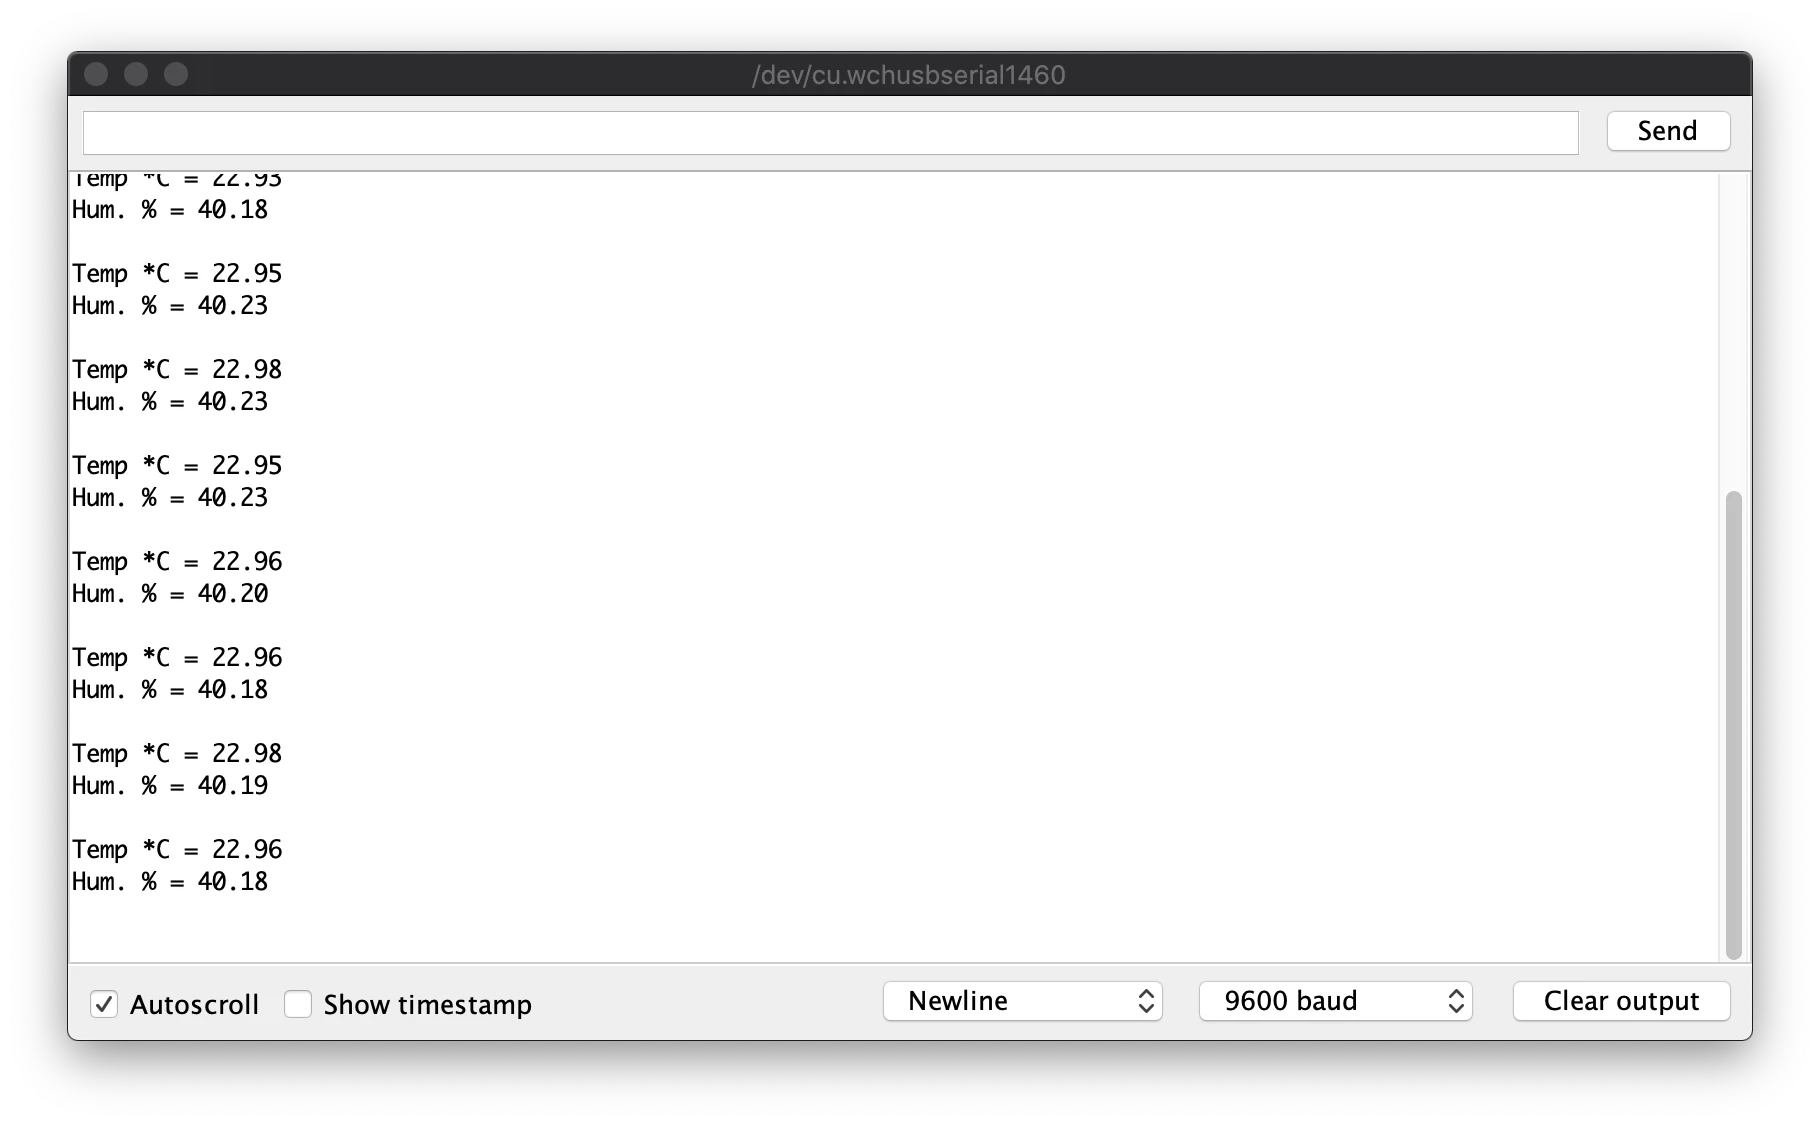
For the time being, we're going to connect the SHT30 shield on top of the ESP8266. With the following code, we're going to get the room temperature and humidity back into the console every four seconds.
With the following code, we're going to get the room temperature and humidity back into the console every four seconds.
Step 2 - Show a message on the screen
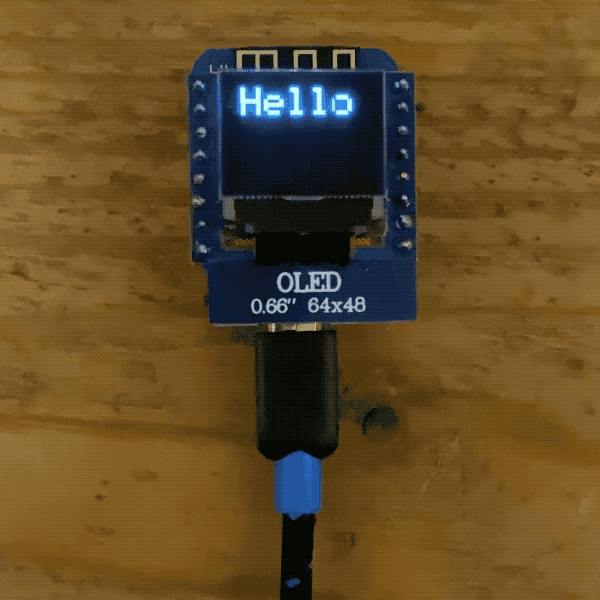
Let's connect the OLED display shield on top of the ESP8266 and post a simple message.
We know now how to display a text and how to clear the screen.
Step 3 - Show the temperature on the screen
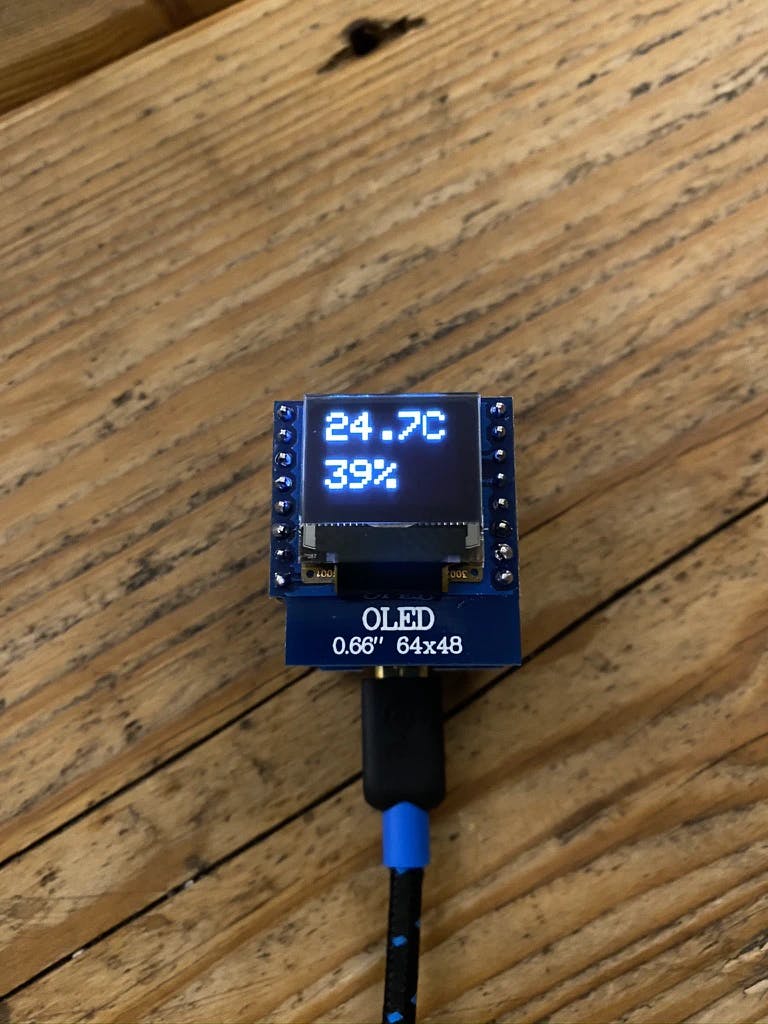
Now that the temperature value can be read and a text displayed on the screen, for the next step, we will display the temperature and humidity values.
Step 4 - Connect to Blynk app
Having the temperature and humidity value is good, but it is not very practical to consult them. So we will connect our temperature sensor to the Internet in order to post data on the cloud and get it back on an application we will build with Blynk.
Blynk is an application, free, for small applications such as ours. It's the most popular IoT platform to connect your devices to the cloud and to design our application easily.
You can follow this link for detailed explanations on how to create a new project in the application.
➡️ http://docs.blynk.cc/#getting-started-getting-started-with-the-blynk-app
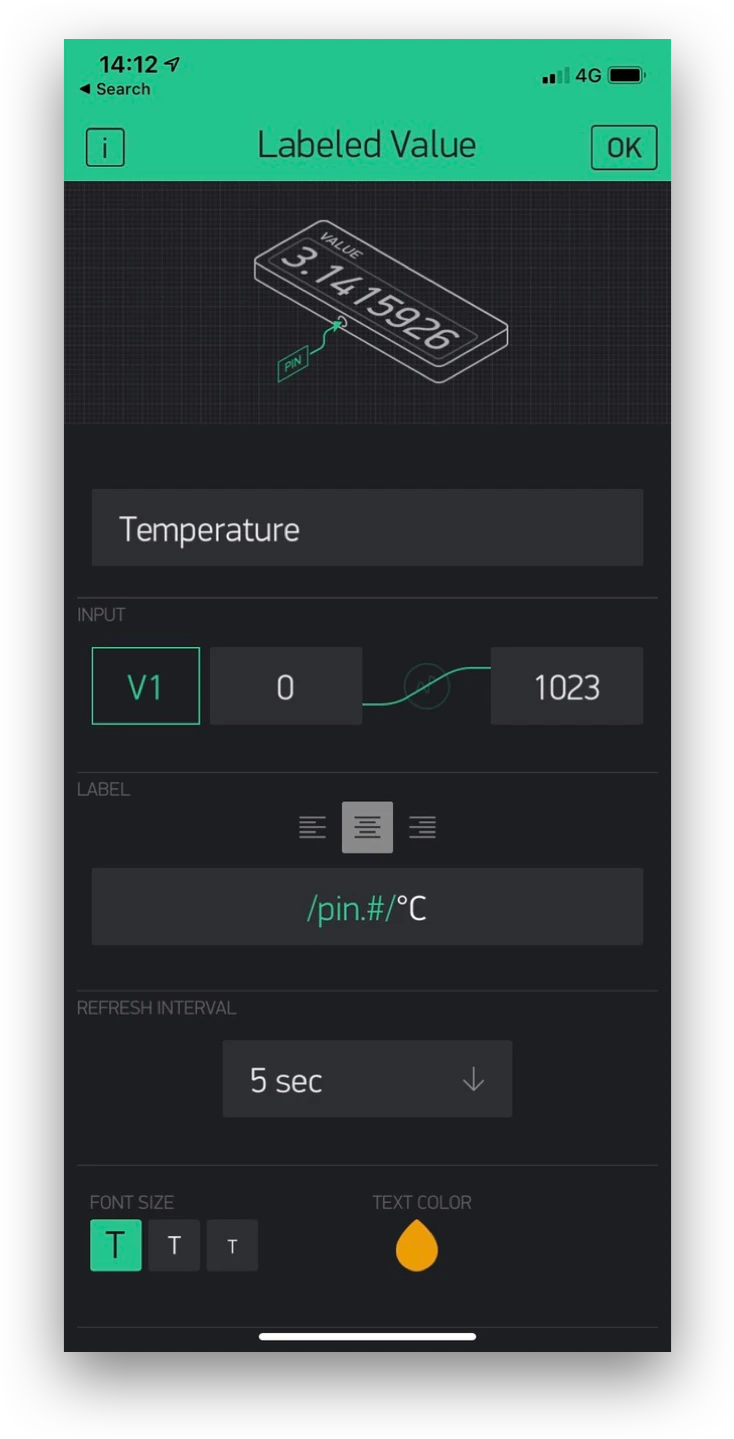
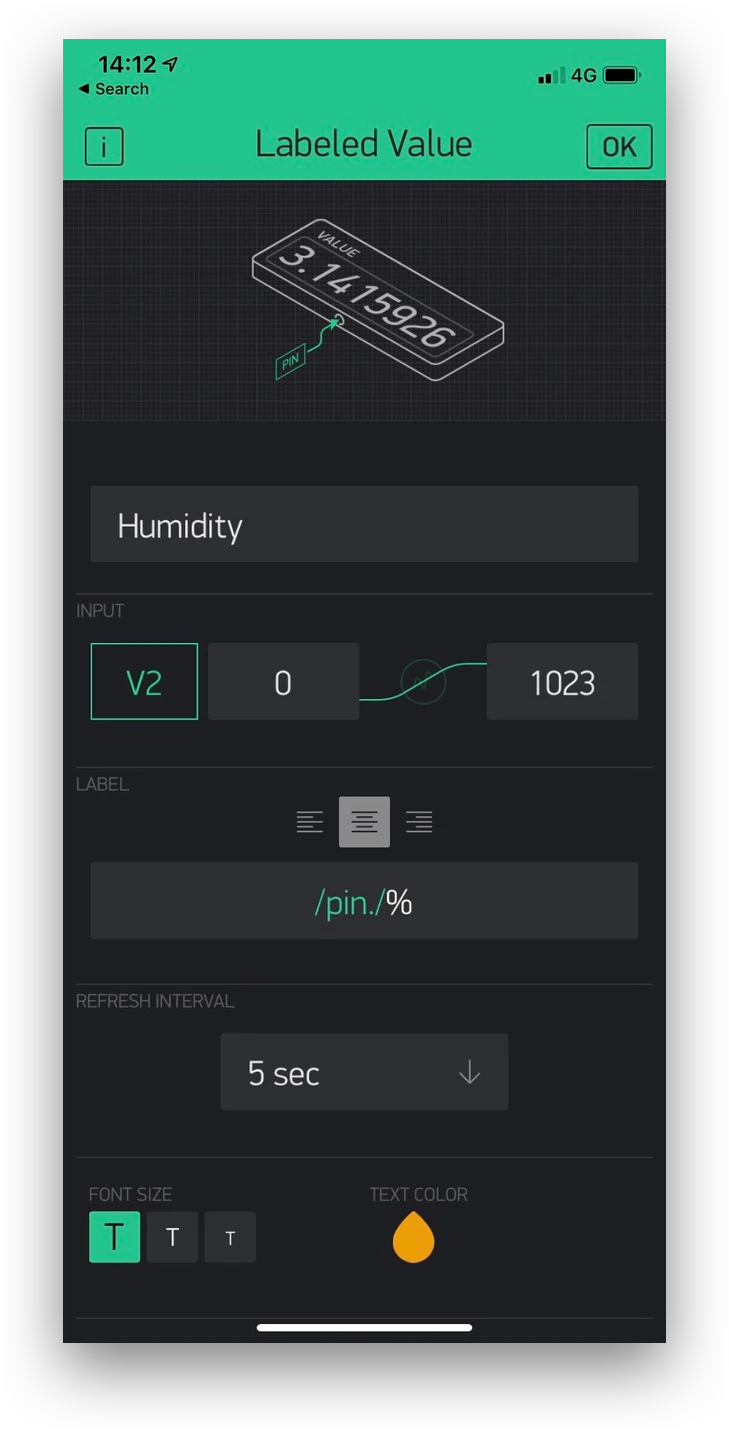
Now you can configure your application on Blynk by setting 2 labelled value as on the following pictures.
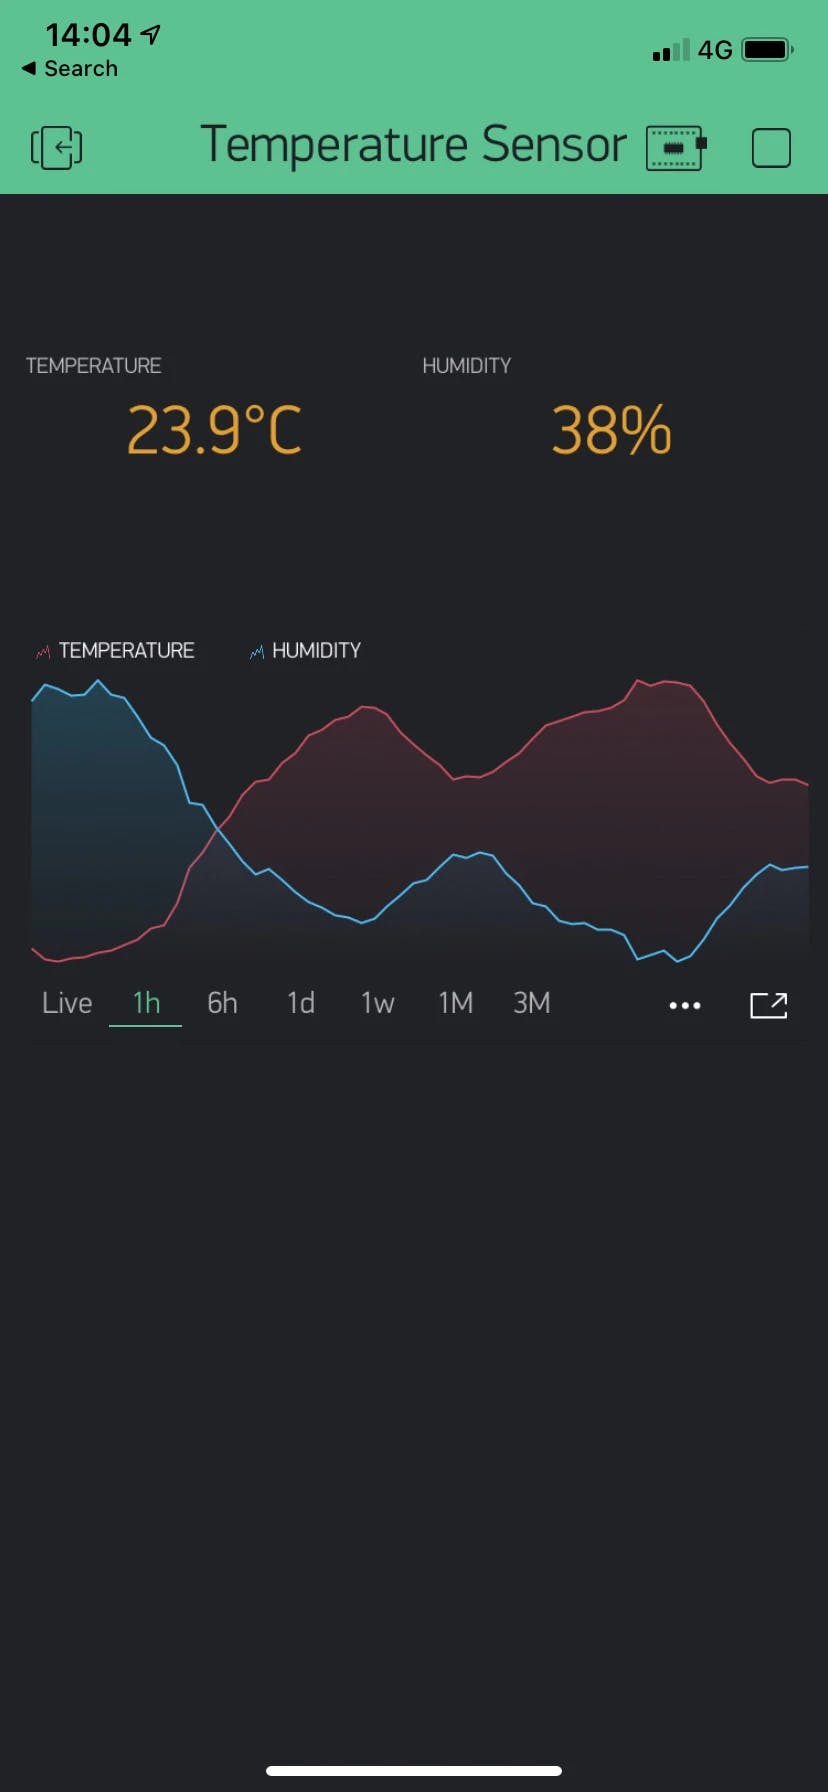
You can have a little fun with the modules offered in the application. On mine I made a graph that represents the values of temperature and humidity.
Congratulations, you have made your connected temperature sensor. 👏
🔥 Enjoy with your new connected temperature sensor